
You send a photo. A week later, it’s covering a five-meter wall in a café in Makati. What happens in between?
Here’s the whole journey, explained in plain language.
Step 1: Your Design File
It starts with an image file — a photo you took, artwork from a design library, or your graphic designer’s work. Print shops accept common formats like JPG, PNG, and WEBP.
One rule matters most here: resolution. A photo that looks perfect on your phone can turn blurry when stretched across three meters. A quick test: zoom into your image at 100% on a laptop screen. If it still looks sharp, it will likely print well at large sizes. If the shop says your file is too small, don’t argue — trust them. Pixelated walls are permanent.
Step 2: Resizing to Your Wall
Your wall is, say, 4.4 meters wide × 2.7 meters high. The shop’s software scales your design to fit those exact dimensions, then divides it into vertical strips called panels.
Why panels? Because no printer is four meters wide. Panels are typically 50–100 cm wide, and they’re designed to overlap slightly so the image continues seamlessly from one strip to the next — like wallpaper, but with your picture.
Step 3: The Printer
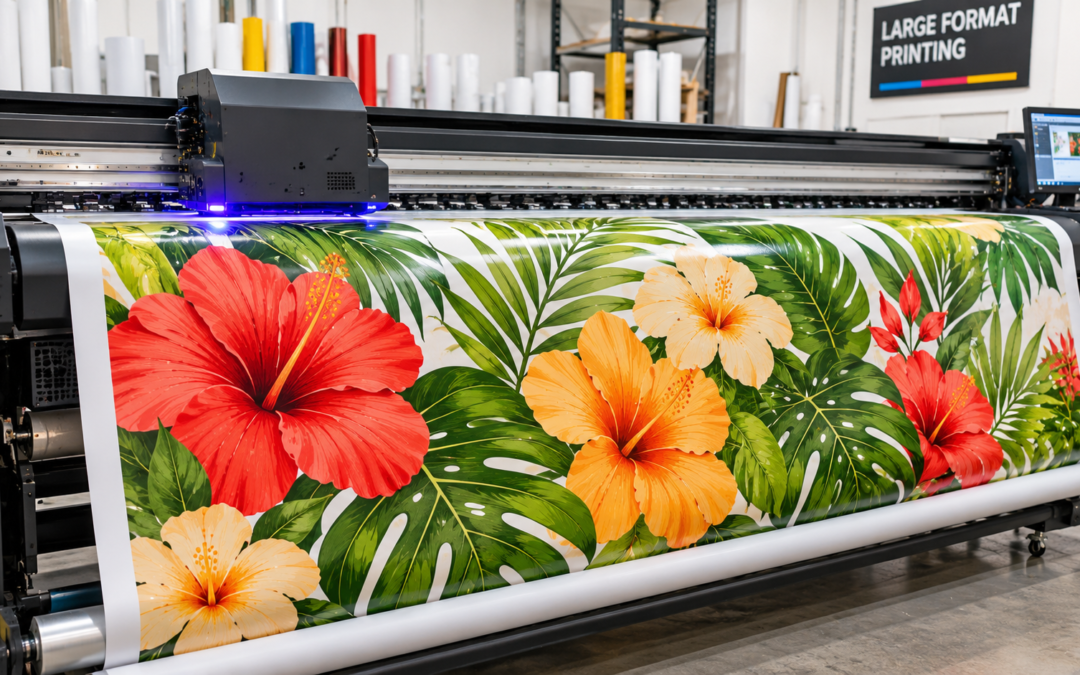
This is where large format printing gets its name. These machines are the giants of the printing world — some wider than a car — that print on rolls of vinyl or textured wallpaper material.
They work like your home inkjet printer, except:
- The ink is solvent or latex-based, so it’s waterproof and fade-resistant
- The colors are mixed as the roll moves through, one panel after another
- A single mural might take 1–3 hours of printing
Step 4: The Proof
Before anything is printed at full size, the shop shows you a proof — a digital preview of how the panels will look on your wall. Check it carefully:
- Are the colors right? (Screens lie; ask for a printed color sample if it matters)
- Are doors and windows positioned correctly relative to the design?
- Is the pattern’s focal point where you want it?
This is your last free chance to change anything.
Step 5: Material Selection
The printed design can go on different materials depending on the room:
- Standard vinyl — smooth, wipeable, good for most indoor walls
- Textured wallpaper-style material — hides minor wall imperfections, feels premium
- Commercial-grade vinyl — tougher, for cafés, offices, and high-traffic spaces
The material affects both price and lifespan, so match it to the room, not just the budget.
Step 6: Installation Day
Panels arrive rolled and labeled in order. For a full wall, a professional installer will:
- Prep the wall (clean, fill holes, prime if needed)
- Hang panels left to right, matching the overlap
- Trim edges and cut around sockets and switches
- Roll the seams flat so they disappear
The process looks simple and absolutely is not. A single crooked first panel means every panel after it is crooked. This is why most shops that sell murals also offer installation — especially in Metro Manila where their teams are based.
The Timeline, Realistically
From approved proof to installed wall: usually 3–7 working days for printing, plus half a day for installation. Rush jobs are sometimes possible, but the printing itself can’t be hurried without risking quality.
👉 Curious what your photo would look like at wall size? Order a custom wall mural in Manila and request a free digital mockup — most shops will show your design on a photo of your actual wall. And if you’re torn between a full mural and a single large decal, our wall mural vs. wall sticker guide will settle it in two minutes.